When Derek and I moved in together, he brought with him several items from his old house, few of which fit into our combined decor. One such item was a metallic silver and black wall clock, very '80s looking, that he picked up for free. Instead of tossing it out, we decided to use some leftover chalkboard paint from this project to give it a facelift.
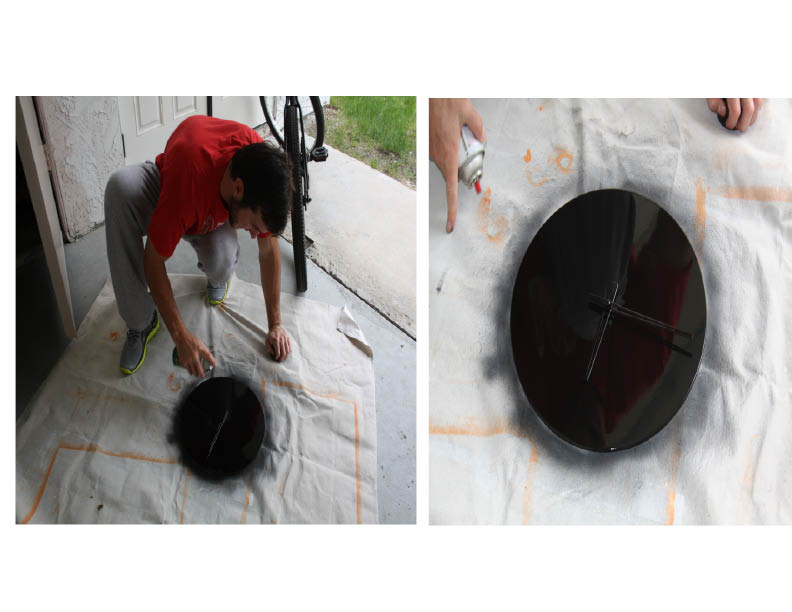
The result is a cool clock facade that we can customize with as many colors and designs as we so please - infinitely re-doable! So in honor of the season, we decorated the clock with Derek and Taylor's 12 Days of Christmas - an idea I borrowed from Young House Love's personalized calendar - making each hour on the clock a special number to us like "2 love birds," "7 years" - how long we've known each other, "11 days of Christmas vacation" and "12 months until next Christmas."
Any ideas on what we should change it to in January? 12 new year's resolutions?
Showing posts with label chalkboard. Show all posts
Thursday, December 16, 2010
Tuesday, October 12, 2010
The writing on the wall
One of my birthday presents this year was a pretty set of apron and oven mitts from Anthropologie. Since they are gorgeous and I use them all the time, I wanted a pretty spot in the kitchen to display them, while creating a useful workspace to write down recipes, notes, or grocery lists.
Derek and I came across the below wooden frame for $3 at a thrift store. I nearly forgot to take a before picture so this is mid spray paint, but as you can see it was an ugly gold tinged color but had a cute shape!

We spray painted it white then bought a piece of scrap wood and had it cut to the frame's size at Home Depot (cost $0.50). Once we spray painted the wood with chalkboard paint, we inserted it in the frame and nailed it down. Three $3 Home Depot hooks and a power drill later, we had an adorable chalkboard rack for the kitchen!

The whole project was incredibly cheap and easy and I'm delighted with the outcome! Now to decided what else to chalkboard ....
Subscribe to:
Posts (Atom)