Thursday, January 13, 2011

Introducing...

Last week I had one of the happiest days of my blogging career thus far, second only to that thrilling day when I got my very first reader comment. In just one day, I got TWO awards from two AMAZING bloggers ....


Amanda, at Perfection Imperfection - adorable decor taste, and even more adorable kiddo and Koco & Viking - two Renaissance woman with talents in crafting, cooking, and even finding great deals.

The rules of the award are that that I'm supposed to pass it on to my favorite lovely blogs with less than 200 followers and tell you seven things about myself.

Here are my must-see ladies:

Madison has divine recipes to share, plus she's getting married so I see pretty wedding posts coming down the aisle!

Kimmie = style and talent. She sports the cutest outfits and she's a blog designer! Sign-up friends if your site needs a facelift!

Somehow she spots every, single most inspiring image on the net! I drool over the images she posts.

Kaity's blog is as sweet as she is. Visit quickly but I warn you, you will drool over her engagement and wedding pics!

I have to break the 200 rule for Nicole, her style, crafts, decor, and shop are to die for!


Please check out these lovely places and share with me your favorites!

And if you care to stick around, here are my seven Trimmed & Taylored facts:

1. I don't have a sweet tooth - I have an entire sweet mouth! I could eat sugar all day long.
2. Scratch my head and I'm putty in your hands. Perhaps that's why I'm constantly getting rubbed by this guy.
3. When I lived in NYC I loved getting dressed-up for work everyday. Now that I'm working from home, I confess to spending most of my 9-5 hours in my sweatpants. This is why you likely won't see any outfit posts on here anytime soon!
4. I collect vintage aprons! I find them at antique stores and thrift shops and I love how sweet and quaint they are.

5. I've lived in six different states! I enjoy moving and think it's fun to explore a new city, though I'm sure one-day I'll be ready to settle down.
6. Derek and I have technically only been dating since April '10, though I met him when I was only 17! We remained best friends and talked every day over the past several years, though him being in the Air Force and me at college made it hard to date. Now we're both settled in and so happy we can make it "official."
7. I love to read! When I was a kid I used to enter summer contests to see how many books I could read over the summer. I can easily finish a good novel in 2-3 days. I'd love recommendations!

Born in a barn

I woke up this morning to an email in my inbox alerting me that Pottery Barn clearance items are an extra 15% off today through Monday, 1/17 with the code SAVE15.

This is such a good deal on a store I LOVE, I don't think I can afford to pass it up! Here are some of my picks ...


Marlow milkglass table lamp, about $58 with the discount.


Glass pedestal, about $26 with discount.


Silver plated trophy vase, about $58 with discount.


Clock bottle stopper, about $19 with discount.


Bulldog bottle opener, about $8 with discount.


Anna desk and hutch, about $300 with discount.


Happy shopping!

Wednesday, January 12, 2011

The keys to Keystone

Whew! I'm finally caught up on life after an incredible long weekend in Keystone, Colorado, and while I'm always happy to be home in my own bed, I confess my heart is slightly achy every time I think about those breathtaking mountains and nights spent staring up at millions of stars in the hot tub.

Our friends Jess and Darren taught Derek and I how to snowboard and it was a blast! We're a little sore and bruised but the adrenaline rush of free-falling from 11,000 feet is unlike anything else! The term of the rest of the weekend was "swanky" since it was spent with a lot of wine, board games, steam showers, hottubbing, and delicious food in Jess's family's amazing and welcoming Keystone home.

I was too nervous to bring my camera to the top of the mountain but here are some shots of other weekend highlights.

A chalkboard sign created by Derek before we departed. Is he not the cutest boyfriend in the world?


Our gracious hosts ...


A yummy, yummy breakfast pre-Keystone at Snooze in Denver. Eggs Benedict with arugula and Brie? Yes, please. Surprise (free) pineapple upside down pancake from our server? OK!


Wine, cheese, and these pretty chalkboard wine glasses Derek and I made for our hosts! Tutorial to come ...


Salmon on flaky pastry dough ...


and catching up with my best high school friend.


The great room where we spent most of our home time by the fireplace. The large windows are perfectly aligned with the Continental Divide.


More glorious windows like this one above the master bathroom tub and the above the master bed.


A gourmet kitchen with built-in wok among the many amenities!


Furry hats and friends.


The homemade s'mores we had from the marshmallows and graham crackers I made from this and this recipe.

My handsome mountain man who picked-up snowboarding like he'd been doing it his whole life ...


And a restaurant with his name.


A quick visit to quaint Breckenridge ...


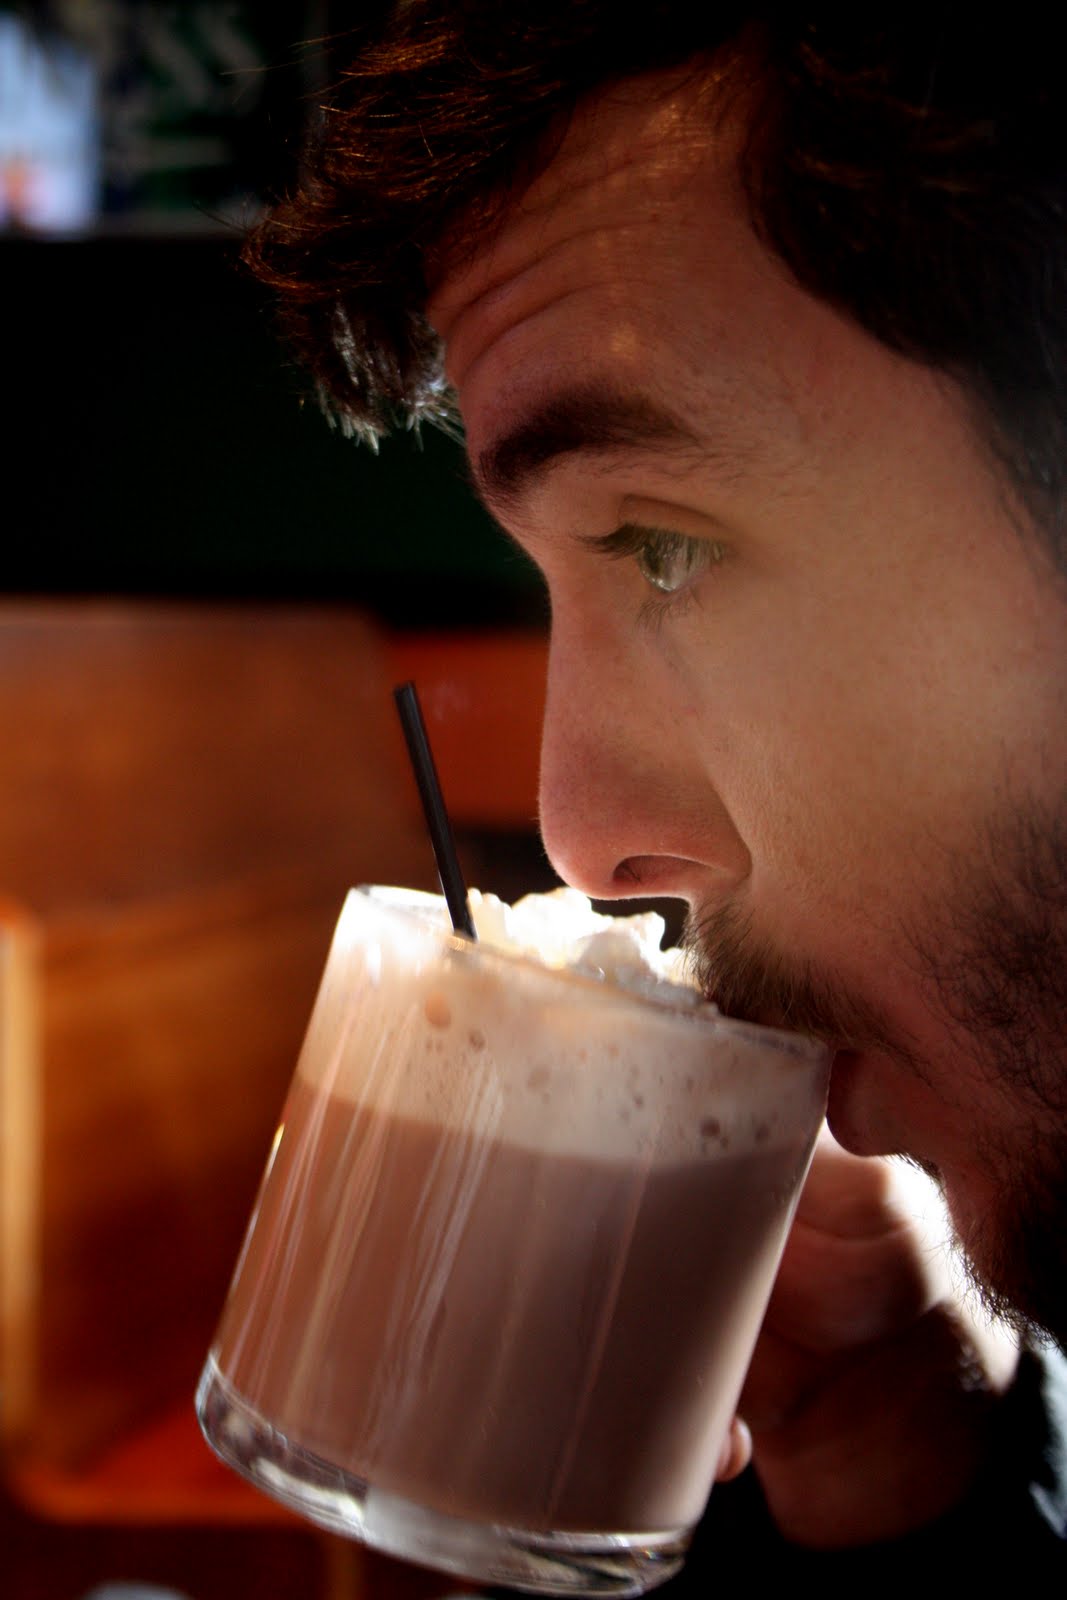
and lots of hot drinks like this hot riley (hot cocoa and Bailey's) and homemade snugglies (hot cocoa, peppermint schnapps topped with cinnamon and a homemade marshmallow).


Thank you Jess and Darren!! We had a wonderful time in your wonderland and can't wait to come back!
xox

Friday, January 7, 2011

Happy weekend!

My friends, what are you up to this weekend? Derek and I are off to Keystone, Colorado for a weekend getaway with my best high school friend and her lovah boy at their mountain cabin. Check in next week for pics and to see whether or not I've broken my leg.

And cross your fingers I look more like this ...


And less like this ...


Images from here and here


Thursday, January 6, 2011

Oh happy tray


While hunting for ugly Christmas sweaters for this event, I happened across this sad, neglected tray and couldn't help but see the potential in it, especially for just $1. Derek battled against me bringing home yet another piece of orphaned home decor, but I finally won him over.

And once he gave it a quick spray of white paint, I think he felt a little more welcoming toward it ...


Even more so when I covered the bottom with some green burlap ...


And then finished off the rough edges with jute twine ...


He even volunteered his stronger/steadier hand to cut out the stencil I printed out ...


And I knew he was officially in love when he took the lead in spraying the stencil on in black.


But in the end we sent the "E" for "Engler" tray, off to a better home, my parents', for Christmas.


Wednesday, January 5, 2011

Cherry walnut salad

While we were on vacation, we ate out our lunches way more frequently than we do at home and ended up at Panera (or St. Louis Bread Company as called in STL) quite a few times. I've loved Panera since high school but was so pleased with their new Harvest Chicken Salad - I had to try my own version at home! Not only did I get to try out two of my Christmas gifts (a Food Network food processor and Williams Sonoma vinaigrette shaker), it turned out so yummy, I think I'm going to try to reinvent a few more of my dining-out faves!


I hope you try it and love it as much as me!

Cherry walnut salad (Panera's Harvest Chicken)
Ingredients:
I made for two, but you can totally adjust the below by taste or number of eaters
- Mixed greens or other lettuce
- Pear (1)
- Handful of dried cherries
- Toasted walnuts - about 1/2 cup
- Crumbled blue cheese - about 1/2 cup
- Grilled chicken breast (1)

1. Toss ingredients together and serve with the vinaigrette below.


Cherry Vinaigrette:
From Derek's mom, Chris. Makes one cup - more than enough for a salad for two.


-1/3 cup dried cherries
- 1/4 cup hot water
- 1 cloves garlic
- 1/8 cup balsamic vinegar
- 1/2 cup extra-virgin olive oil
- 1/2 tablespoon Dijon mustard
- 1/4 teaspoon salt
- 1/4 teaspoon ground white pepper

1. Soak cherries in hot water for 15 minutes; pour cherries and liquid into blender or food processor. Add garlic, vinegar and half of olive oil. Process until garlic is finely chopped.
2. Add mustard, salt and pepper, blending after each addition.
3. With blender running, add remaining olive oil in a steady stream.
4. Serve with salad and save the rest in an airtight container for only a couple of days.

Tuesday, January 4, 2011

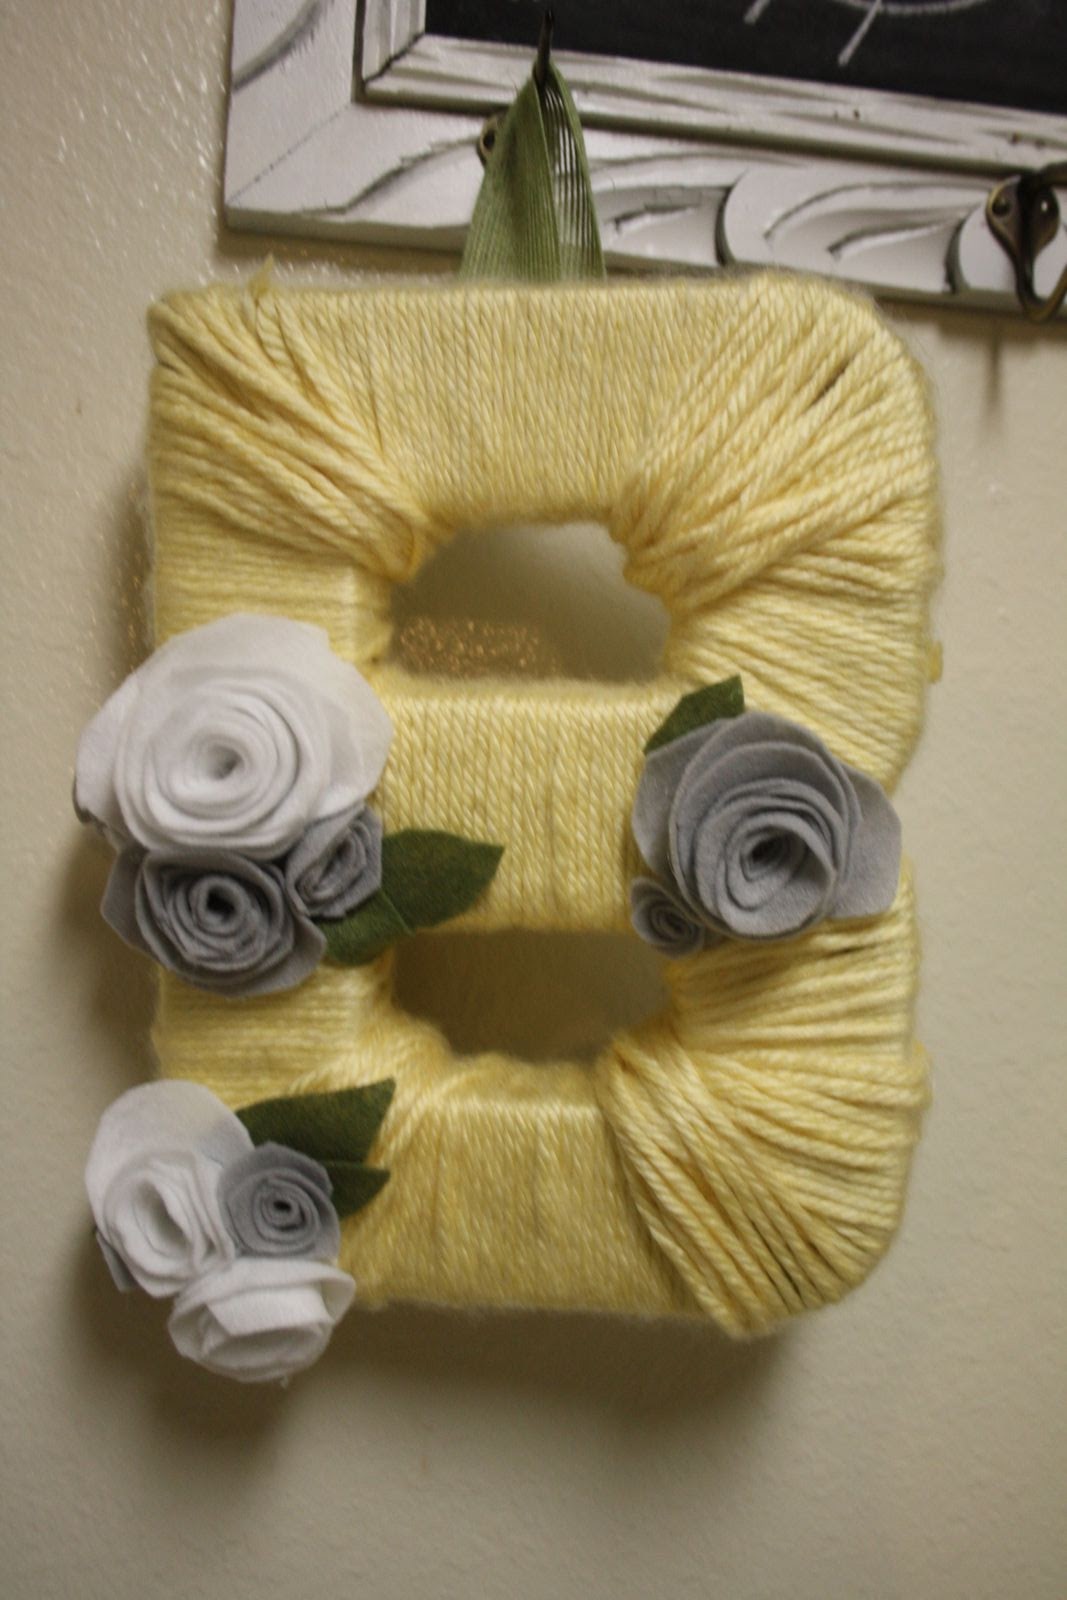
Trimmed & Taylored presents the letter B

I've been crazy in love with the yarn wreaths all you crafties have been churning out like the beauties spotted on Take Heart here. I originally planned on making one for Derek's parents for Christmas, but in a short burst of over-achiever-ness at JoAnn's decided to attempt a yarn "B' for their last name.

I'm super happy with the result and it looks quite cute hanging in their house. Check out the how-to and the pics below and let me know what you think!

Supplies:
- Paper mache letter
- Yarn (I used one whole spool)
- Felt in your choice of colors (I used 4 - 5 sheets)
- Cardboard
- Glue gun
- Staple gun

Instructions:

1. Tie off a bit of ribbon at the back of your letter - where you start will depend on your letter - and then begin to wrap. Based on the shape of your letter, there will be various areas where you can't wrap the yarn. I used a bit of glue in some areas to help guide the yarn where it needed to be and left the other areas to be later covered with felt flowers.

2. Begin making your felt flowers. Cut a circle of felt with uneven edges then begin cutting the circle into a spiral. You should end with a large line of felt. Make various size circles to change your flower size.


3. Beginning at the end of your spiral, start to roll the felt tightly - forming a little rose! I also cut little leaves out of green felt.

4. Begin placing the roses around your letter, strategically placing them to cover any bare spots.
5. Trace your letter loosely onto a piece of cardboard (I used a pizza box) so that it will fit behind the letter but not poke out of the sides. Then use the cardboard to trace the same shape onto a sheet of felt. Glue the felt and the cardboard together and staple to the back of the letter to cover any back bare spaces.


6. I then attached a little loop of ribbon to the back for hanging, though you can also use a picture holder.

Voila! The letter B!